Saturday, 16 May 2009

Effective manipulations - Light placement

Here's an extremly effective little photoshop tutorial on how to add some clever lighting effects to your photos.


When creating a manip, it's important to think about lighting and shadows as well as the simple composition.


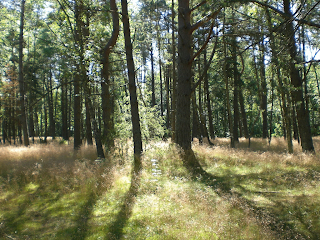
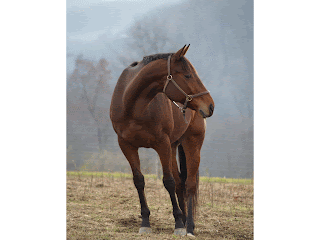
Find a background image that you wish to use that has some nice lighting. As you can see, I have chosen a forest with the light coming from behind. Then pick a nice object/image to be added in there. Now, I've chosen a horse to go in my forest as you can see. http://oldpost.deviantart.com/art/Horse-stock-71219768 http://greenleaf-stock.deviantart.com/art/forest-01-98586843


1. First we need to make the horse in-proportion with the forest.
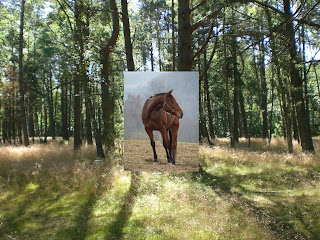


2. Next, we need to remove the background from the horse. (Please refer to my tutorial on how to remove a background if you are unsure).


3. As you can see, it looks like the horse has just been shoved in there.
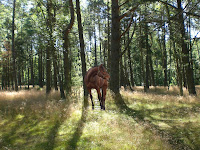


4. To make the horse fit in with the picture then the light would have to be coming from behind the horse (like it is in the background forest). So, for starters, we can put a small outer glow around the horse since the light is coming from behind. Go to layer > layer style >outer glow
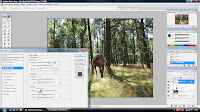


5. Now, the major thing here is that the horse has no shadow. I would usually use a drop shadow however, I think in this case, I'll make my own shadow. I will start by duplicating the horse layer. (right-click on the layer and select 'duplicate layer') Now, flip the top horse layer vertically. go to edit > transform > flip vertically
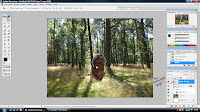


6. Move the top layer so that the horse looks like it's reflected. Like this:
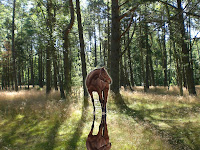


7. Now, we need to lock the transparent pixels on the top layer. To do this, click on the lock transparent layer tool.
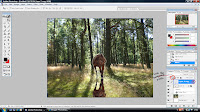


8. Next, simply get a large paintbrush and colour over the horse on the top layer. It will only allow you to paint in the horse picture so don't worry about going over the edge. Like this:
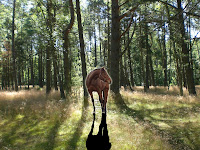


9. The shadow now is extremly strong since it's solid black. We need to soften it. So, unlock your layer by clicking the same transparent layer tool as earlier. Now, to soften it all you need to do is right click on the top layer and select 'blending options'. I used a 60% blend since it seemed to fit with my backing forest picture the best.
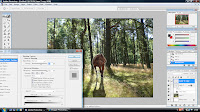


10. Now, the shadow still looks odd since it's very crisp compared with the softer shadows of the trees. You should always make sure that you get your shadows as close to the original shadows as possible. So, we need to soften it. The best way to do this is by using a simple Gaussian blur. Go to filter > blur > Gaussian blur and choose a setting which best suits your picture.
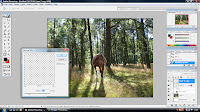


11. As you can see, already the horse looks much better. There's still something making it look out of place though. Can you see what it is? It's the outer glow we added earlier. Look at the picture below and I have circled the areas which shouldn't have a glow since the trees would be blocking out the light.
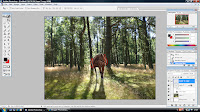


12. To be able to arase certain sections of the outer glow, we need to set the outer glow into a normal layer (so we can easily just rub out the areas of light that we don't want). So, add a new layer and place it between the forest background and the horse layer. Like this:
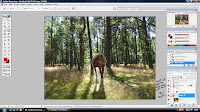


13. Now, select the layer with your horse on it (one above your new blank layer) and hit Ctrl + E to merge it down. This will merge it with your blank layer and make you now able to simply erase the areas of light which you don't want. So, get a soft round eraser and begin to lightly erase the areas of access light that don't belong there.
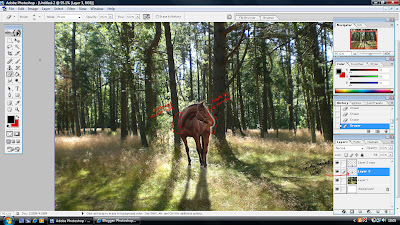


14. Finish off your light erasing and now you can see that it nearly looks complete.
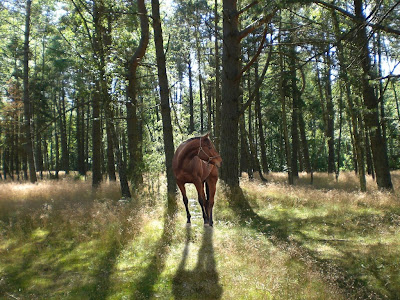


15. The only thing that needs changing now is the the brightness of the horse. Since the trees are dark with the light behind them, the horse needs to be too. So, go to image > adjustments > brightness/contrast and edit the brightness so it's a lot lower.
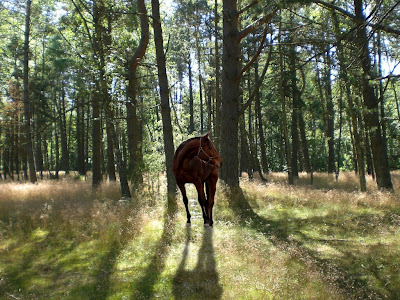


As simple as that,


Sam

Quick Effects - Marble Effect

Here's a nice, easy little tip / tutorial on how to make your picture into a jigsaw using photoshop in minutes.


1. First, open a blank canvas in photoshop and (by pressing the letter 'D' on your keyboard) set the colours to default black & white. Go to Filter > render > clouds


2. Then, (on the same layer) go Filter > render > different clouds so that you get a marble-like texture.


3. Next, go to image > adjustments > equalize


4. Go to image > adjustments > colour balance and simply adjust the colour to suite you.


As simple as that,
Sam

Abstract Texture - Swirling Lightspeed

Here's an extremly effective little photoshop tutorial on how to create a lightspeed looking texture completly from scratch.


1. Firstly, open a new photoshop document any size and hit 'D' on your keyboard so your colours revert to the default settings of black and white.


2. Create a new layer (layer > new layer) and on this new layer we will filter some clouds (filter > render > clouds).


3. Then, go to filter > pixelate > mezzotint making sure that the type is set to short strokes.


4. Next, select filter > blur > radial blur and choose the following settings: Amount= 100 Blur Method= zoom Quality= best

5. Simply hit Ctrl + F to repeat the radial blur again.

Now you should have something like this:


6. Then go to filter > distort > twirl (again copying the following settings): Angle= 105%

Now you should have something like this:


7. Now, right-click on your swirly layer and select 'duplicate layer'. This will make another layer identical to the swirl.


8. Now, click on the top layer (one you just made) and go to edit > transform > flip horizontal.


9. Once you have done that, select the layer style (for the top layer again) to lighten rather than normal.


Now, you should have something that looks like this:


10. Hit Ctrl + E on your keyboard to merge the two layers together.


11. Filter > distort > twirl (add another twirl filter again) same twirl settings as before.

Now you should have something that looks like this:


12. Next, get the lasso tool and draw a rough oval/circle around the centre of your pattern


13. Feather the selection by going to Select > Modify > Feather (or using Shift+F6) and change the feather radius to 150pixels. This will not look any different at this stage. Select the inverse by simply choosing Select > Inverse (Ctrl+Shift+I).

14. Next, with this selection, go to layer > new adjustment layer. (if a little popup window opens then just select 'group with previous layer' and hit ok) This should then bring you to a window similar to the picture below. Copy those settings.


15. Now, if you're happy with how it looks, select the adjustment layer and hit Ctrl + E to merge it down so we just have one easy layer again.


16. Go to image > adjustments > hue/saturation and select these settings


17. I’m going move the centre of the swirl off centre using the Transform tool, make sure you have selected the Swirl Layer, then Transform (Ctrl+T), enlarge the image so that you can move the centre, I’m going to move it towards the bottom right, you should end out with something similar to this:


18. Now, all that's left to do is sharpen it up a little. Go to filter > sharpen > unsharp mask and select the following settings. *9i*


19. You're all done. You should end up with something like this. Why not experiment with different colours, sizes and adding extra outer glows etc. to really bring it to life.


As simple as that,


Sam